Master Sous Vide Yogurt in Six Simple Steps
Discover how to make perfect sous vide yogurt with easy-to-follow instructions and enjoy masterful results in just 6 simple steps.
Making yogurt at home had never crossed my mind until I started sous vide cooking. If you take advantage of this special technique, you will soon see why sous vide yogurt is quickly becoming a kitchen staple. Personally, the only reason I buy a small carton of yogurt from the store now is for the live culture, which is an essential ingredient to make a huge batch of sous vide yogurt at home on a regular basis.
In this article, I’ll provide you with everything I’ve learned for you to master this convenient cooking method, to create fresh and healthy yogurt loaded with probiotics that have your preferred texture and tanginess every single time.
Once you go down this route, there’s no turning back. You’ve been warned. Now, let’s start!
How Is Yogurt Created?
If you are making yogurt in the sous vide, you probably want to know how this stuff is actually produced and the why behind every single step. To satisfy your curiosity, here’s how yogurt is made.
- Heat some milk. The whey protein in the milk gets altered during this process, which helps produce that fine and dense texture of the final product.
- Cool the milk and add bacteria. The best fermenting condition is created when the milk is cooled down to a specific temperature, at which you add bacteria. The bacteria, aka “starter,” is a small amount of live-culture yogurt.
- Y.O.G.U.R.T! The bacteria will ferment the milk sugar (lactose) and produce lactic acid including lactobacillus. The milk proteins then coagulate and set, creating the delicious tart treat called yogurt!
Armed with a little yogurt science, the reasons you want to sous vide yogurt now become more obvious.
Benefits of Sous Vide Yogurt
- You have complete temperature control. Consistent and precise temperature is vital to the incubation process of yogurt. You can make yogurt in an oven, in a slow cooker, or in an instant pot but none of these cooking methods can provide the best condition for producing yogurt in comparison to the sous vide method.
- Alteration of whey protein and incubation can both happen in the sous vide. The first step for making yogurt is to heat up some milk. It can be done on the stove but it can also be done in the sous vide without any babysitting. More on this later.
- Incubate in jars and stay in jars. Unlike making yogurt in an oven or a slow cooker, you do not need to transfer the yogurt to other containers or jars to store it. It’s incubated in the jars and can stay in the same jars until you are ready to eat it.
- It’s a whole lot cheaper than store-bought yogurt. No matter which part of the world you live in, homemade yogurt is pretty much guaranteed to be cheaper. I live in Hong Kong where yogurt is very expensive. The cost for me to make a batch of sous vide yogurt is over 6 times cheaper than store-bought! That’s some serious savings.
- No additives. Commercial yogurt usually uses a thickening agent. But we are in the homemade business, so there are no additives whatsoever.
- Flavor and texture are adjustable with cook time and temperature. In other words, you can customize the level of tang and firmness by changing the cooking time or/and temperature with sous vide.
- No yogurt maker is needed. You do not need one more kitchen gadget to make yogurt. I don’t know about you but I have mixed feelings about these single-purpose tools.
Essential Ingredients
There are only two very accessible ingredients required to make the most delicious and healthy yogurt on earth.
- Milk: Whole milk is the best, but you can also use 2% or skim milk. The yogurt will just be a little thinner. You might want to avoid using ultra-pasteurized milk because it’s heated to 280˚F (138°C), which damages some protein that’s required for culturing the yogurt.
- Yogurt with live cultures: Check the label when you buy yogurt from a store. “Live cultures” or “Active cultures” are usually printed in very small fonts. Guess what? Once you make your first batch of yogurt, you don’t need to buy live cultures anymore. Just reserve some of those homemade goodies as the yogurt starter for your next batch. Talking about things coming to a full circle—can it get any fuller than that?
Sous Vide Yogurt Time and Temperature
Cook time and temperature can impact the flavor and consistency of your yogurt quite a bit. I have experimented with the following, and here’s what I found.
- Experiment #1: 109°F (43°C) for 5 hours: a bit too thin for my liking and not tangy enough.
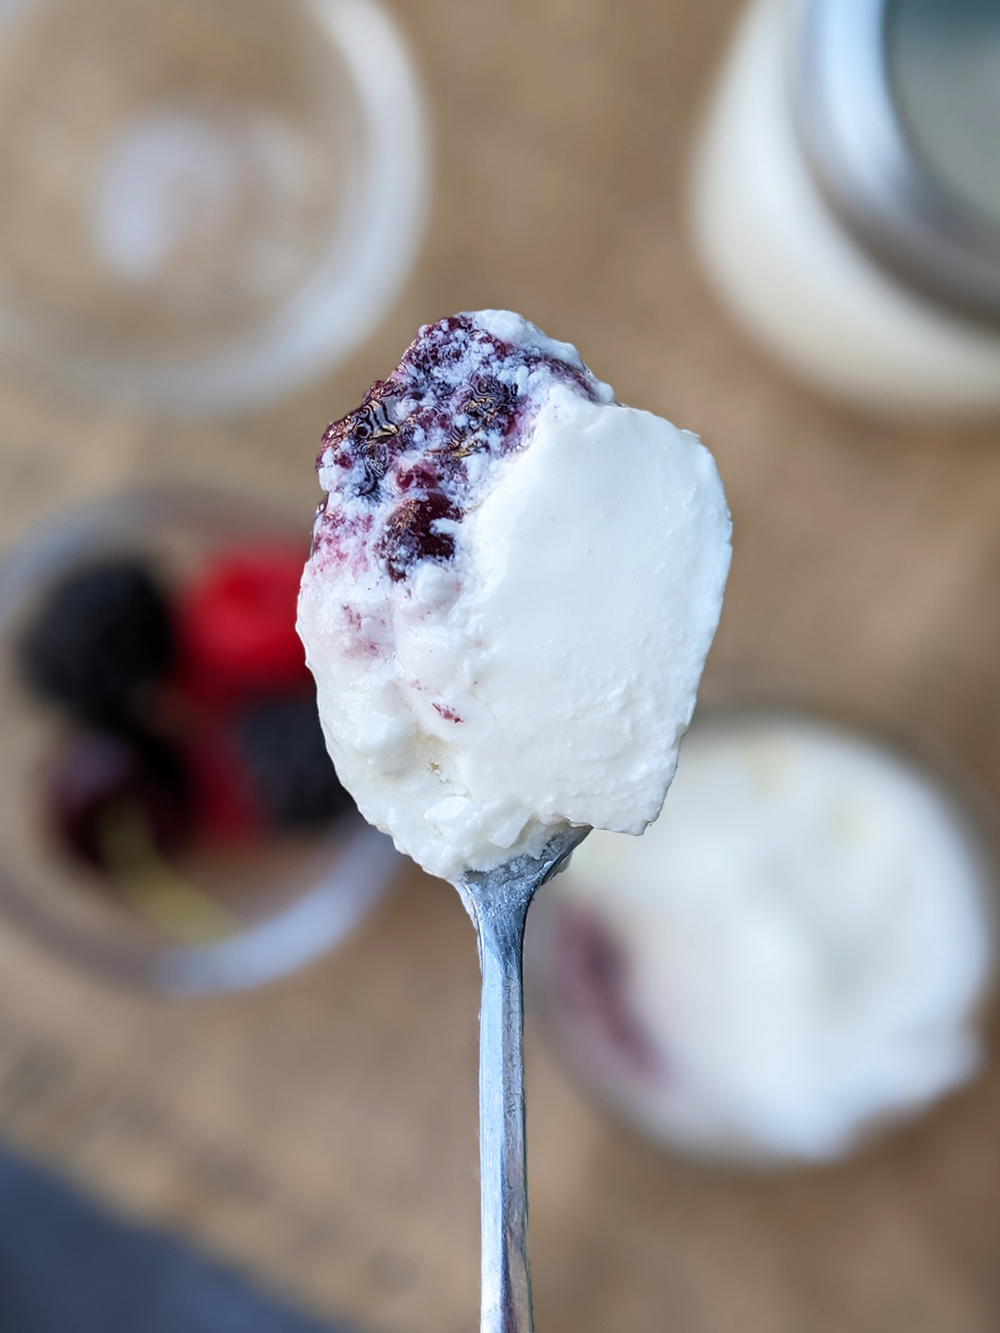
- Experiment #2: 112°F (44.4°C) for 12 hours: not pourable and flavor is good; silky smooth after refrigerating overnight.
- Experiment #3: 114°F (45.5°C) for 12 hours: slightly firmer with the same level of tang as #2.
- Experiment #4: 114°F (45.5°C) for 18 hours with skim milk: pourable and tangy but with a very noticeable difference in texture compared to yogurt made with whole milk.
- Experiment #5: 112°F (44.4°C) for 24 hours: That’s it!! Both texture and tanginess are perfect for me. I’ve found my magic numbers for making sous vide yogurt!
How Long Does It Take to Make Yogurt in the Sous Vide?
As you can see, you can make yogurt in as little as 5 hours or up to 24 hours. The sous vide cook time impacts the flavor of your yogurt. The longer you cook it, the tangier it will be.
The Best Temperature for Making Sous Vide Yogurt
The best temperature to sous vide yogurt is between 110°F (43.3°C) and 115°F (46.1°C). The sous vide temperature is directly related to the texture of your yogurt. The higher the cook temp, the firmer it gets.
Based on what I learned from my experiments, making yogurt sous vide with whole milk at 112°F (44.4°C) for 24 hours produces the best result. Note that this is according to my own preference. I encourage you to experiment within the cook time and temperature range provided above and find your own magic numbers for a version of sous vide yogurt that you like the best.
Essential Equipment
- A sous vide machine. For this recipe, I used my new Anova Culinary AN500-US00 Sous Vide Precision Cooker.
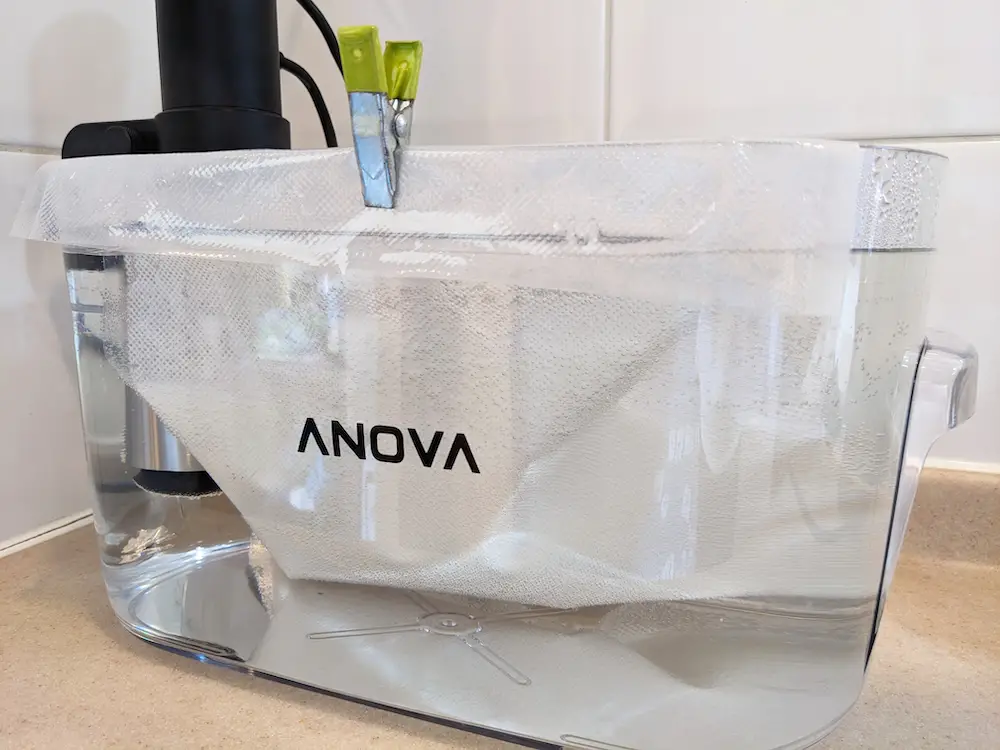
- A sous vide container or a large pot. This batch of yogurt were made in a 12-liter Anova sous vide container, which I purchased recently. It’s the perfect size for a small family.
- A sous vide bag or two large Ziploc bags. I would recommend using a sous vide vacuum bag for heating milk and holding it at 180°F (82.2°F). There’s no need to seal it. Alternatively, you may use Ziploc bags. Since it’s a high temperature, it’s safer to double bag.
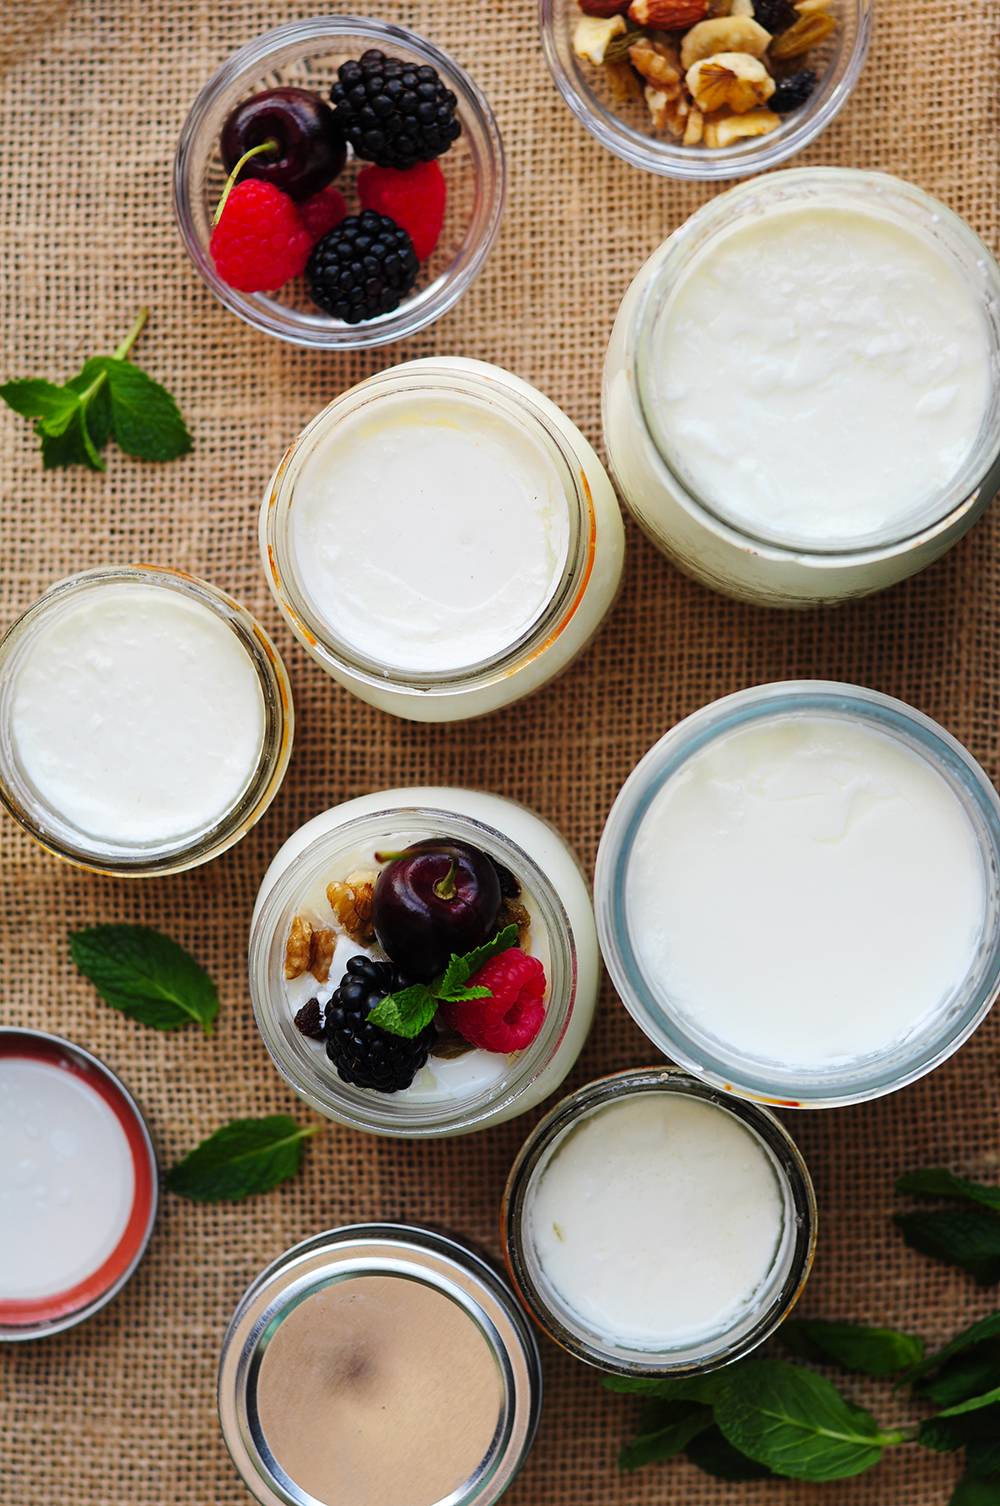
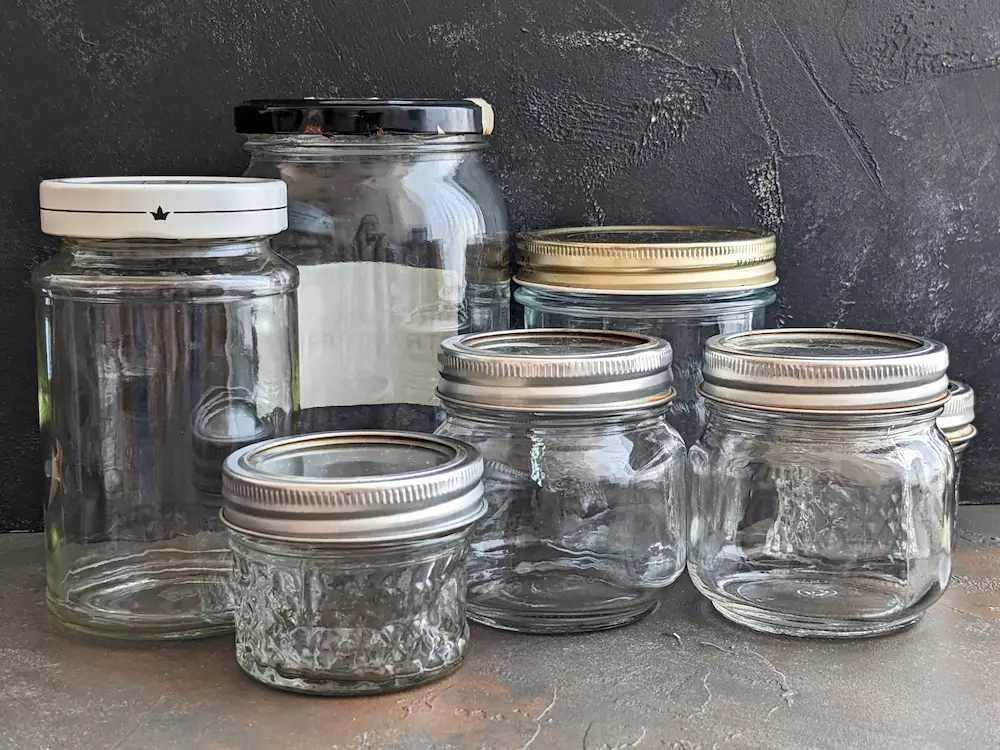
- A bunch of glass jars. I used both 8-oz jars and 4-oz jars as well as a bunch of different-sized ones that I collected. You probably already have some jars in your kitchen. As long as the lids are still in good shape, they can be used for making yogurt.
How to Make Sous Vide Yogurt Step by Step
Step #1: Heat Milk
Warm milk in a pot over low heat until it reaches 180°F (82.2°C), stirring with a spatula to prevent scalding at the bottom of the pot. This step is to alter the whey protein in the milk for yogurt making.
As mentioned earlier, one of the benefits of making yogurt sous vide is that the alteration of whey protein and fermentation can both happen in the sous vide.
Therefore, a better alternative to the stovetop is to preheat a sous vide bath to 180°F (82.2°C). Pour the milk into a large sous vide bag or double Ziploc bags and submerge it under the water. Once the temp reaches 180°F (82.2°C), hold the milk there for 30 minutes.
Step #2: Cool the Milk
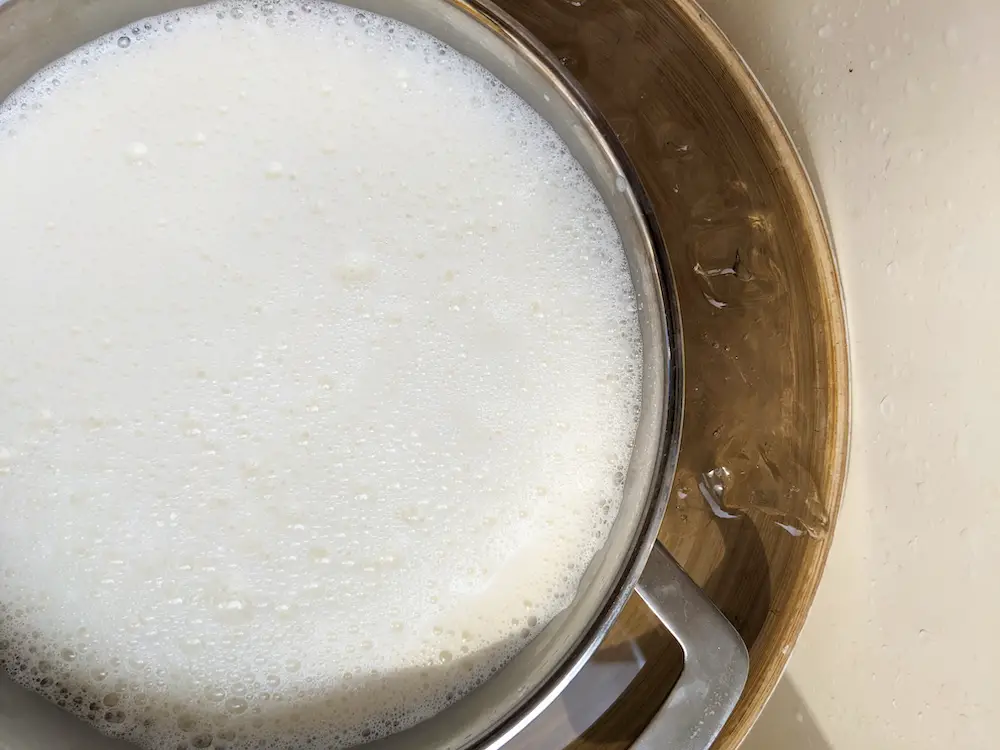
Whether you heat the milk on the stovetop or in the sous vide, once it’s ready, remove it from heat and let it cool at room temperature to 110°F(43°C) or below. To cool it down faster, prepare an ice bath in advance.
Step #3: Add Live Cultures
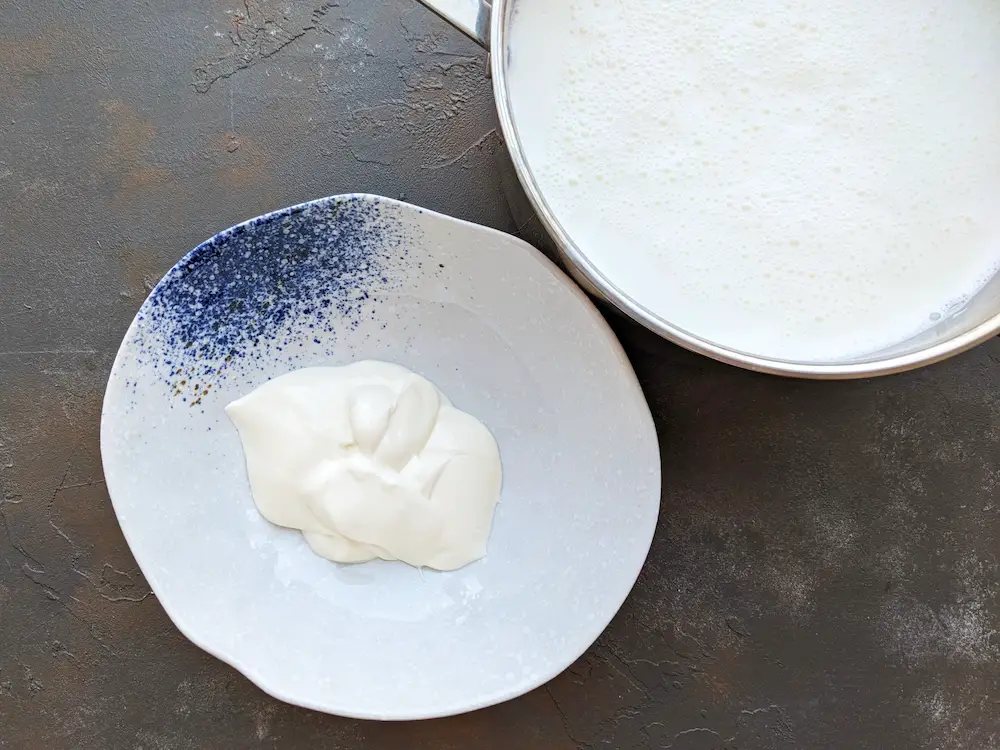
Once the milk temperature has reached 110°F(43°C) or less, you are ready to add the bacteria for fermentation. In a medium bowl, add yogurt with live culture, then scoop up some of that milk and add it into the bowl. Mix well until there are no yogurt lumps. Pour the smooth mixture back into the milk container and give it a gentle stir until well combined.
Step #4: Pour Into Jars
Prepare a few jars with good lids. The size of your jars doesn’t matter. Pour the milk into the jars, stopping about ½ inch from the top. Use only your fingertips to screw the lid on until you feel the resistance.
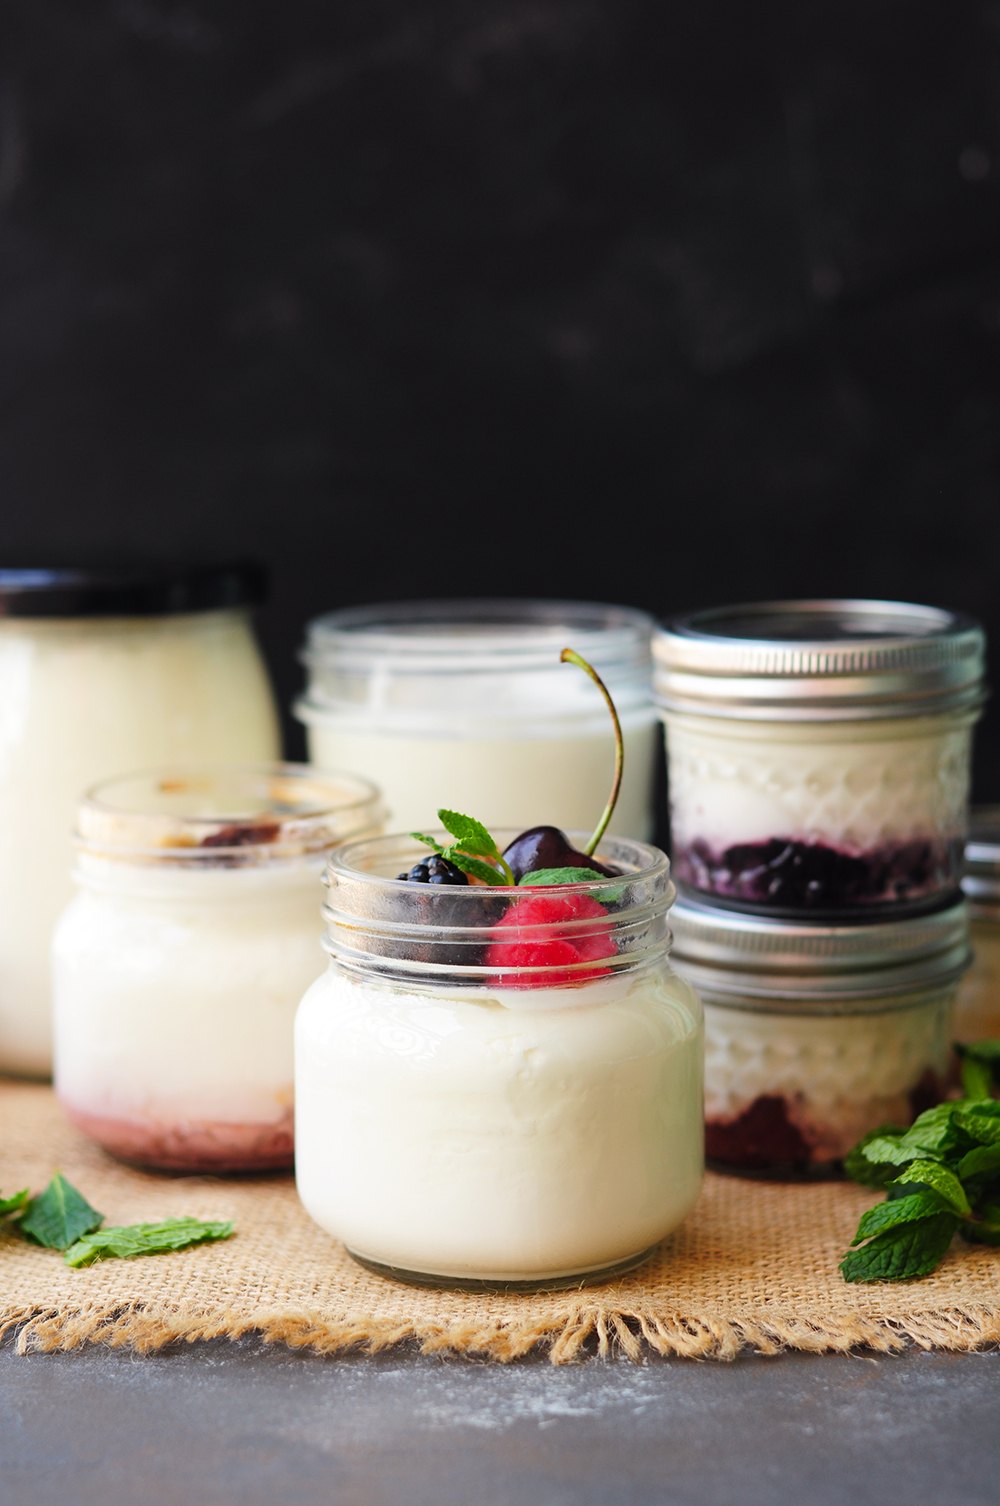
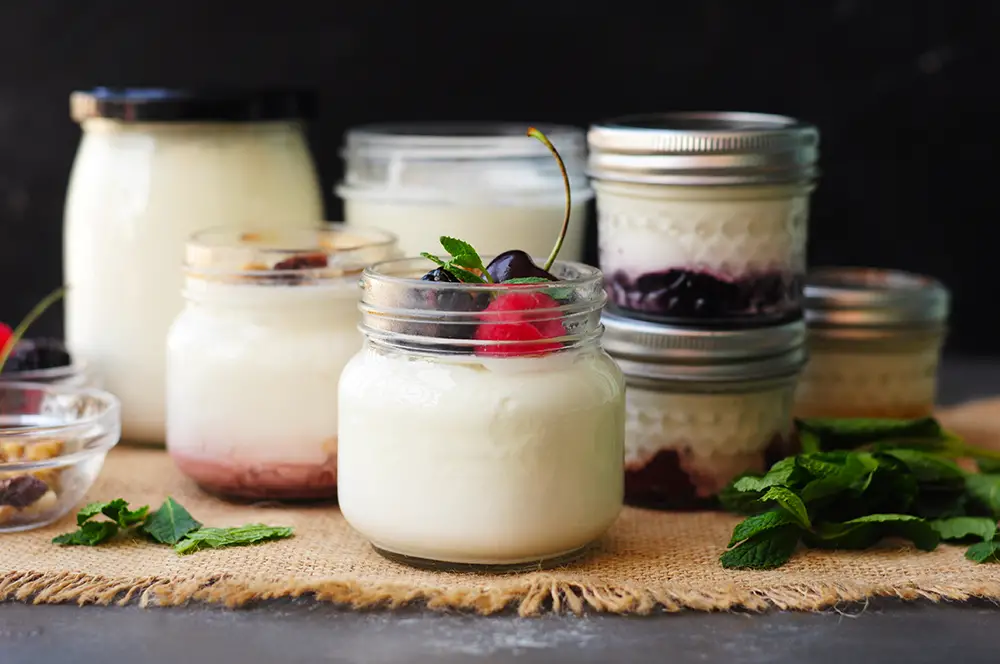
(Optional) Add flavors: To have some more varieties, you can add 1 or 2 tablespoons of your preferred jam with different flavors to the bottom of your jars before pouring the milk mixture in. After long hours of infusion, the jam flavor spreads out into your yogurt subtly and evenly, giving it a hint of sweetness while it stays at the bottom of your jar.
Step #5: Incubate in the Sous Vide
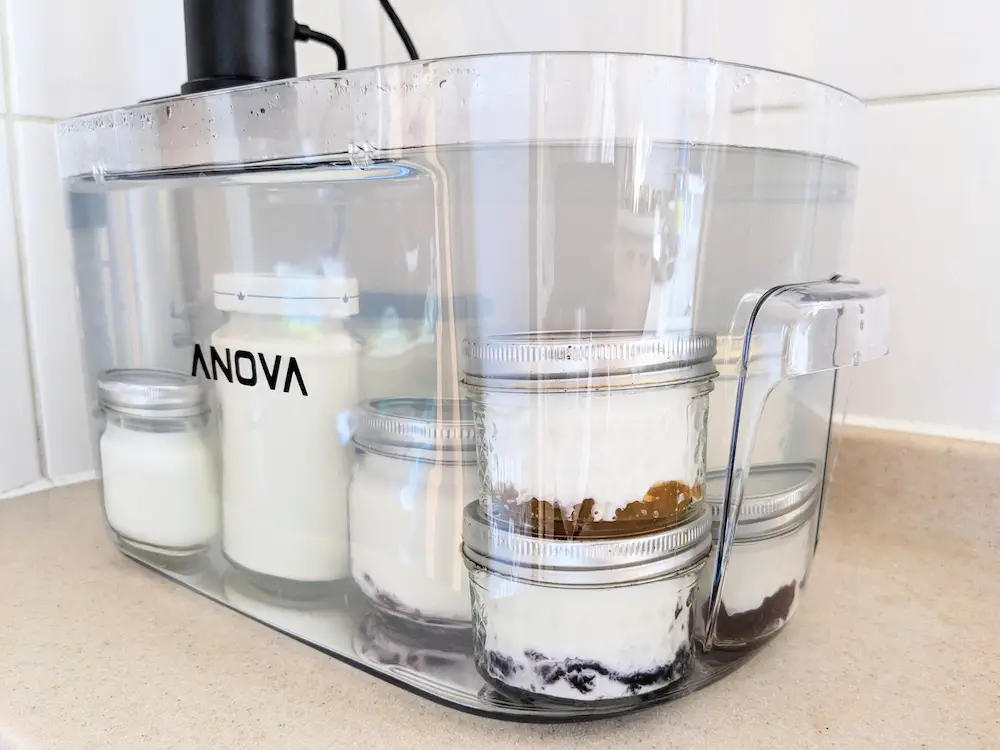
Prepare a sous vide bath at 112°F (44°C) or your preferred temperature. Slowly submerge the jars under the water. Set the timer for at least 5 hours, up to 24 hours.
Step #6: Chill the Yogurt and Enjoy

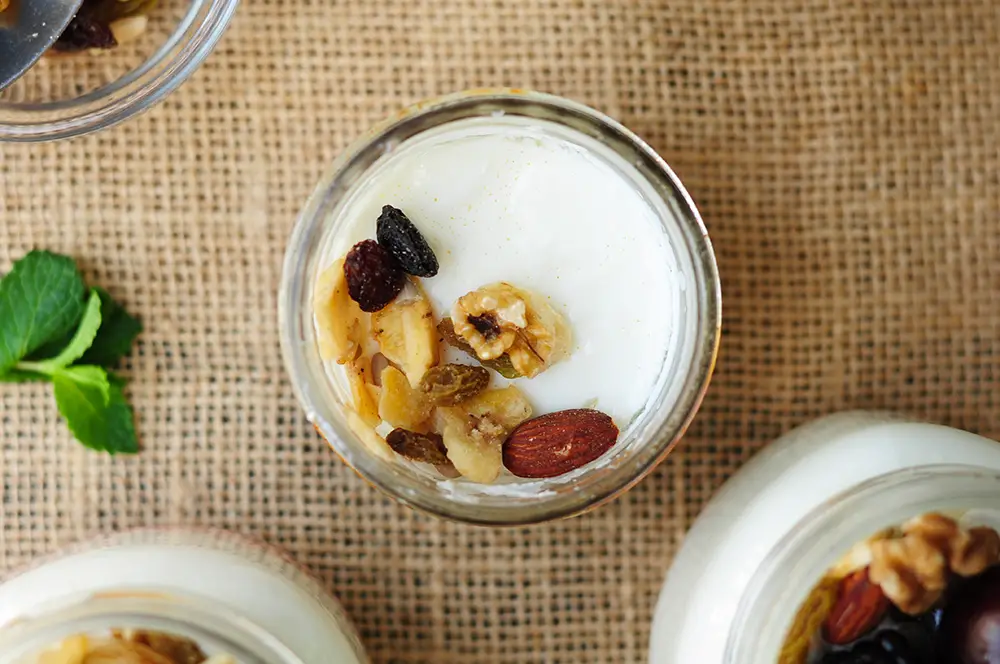
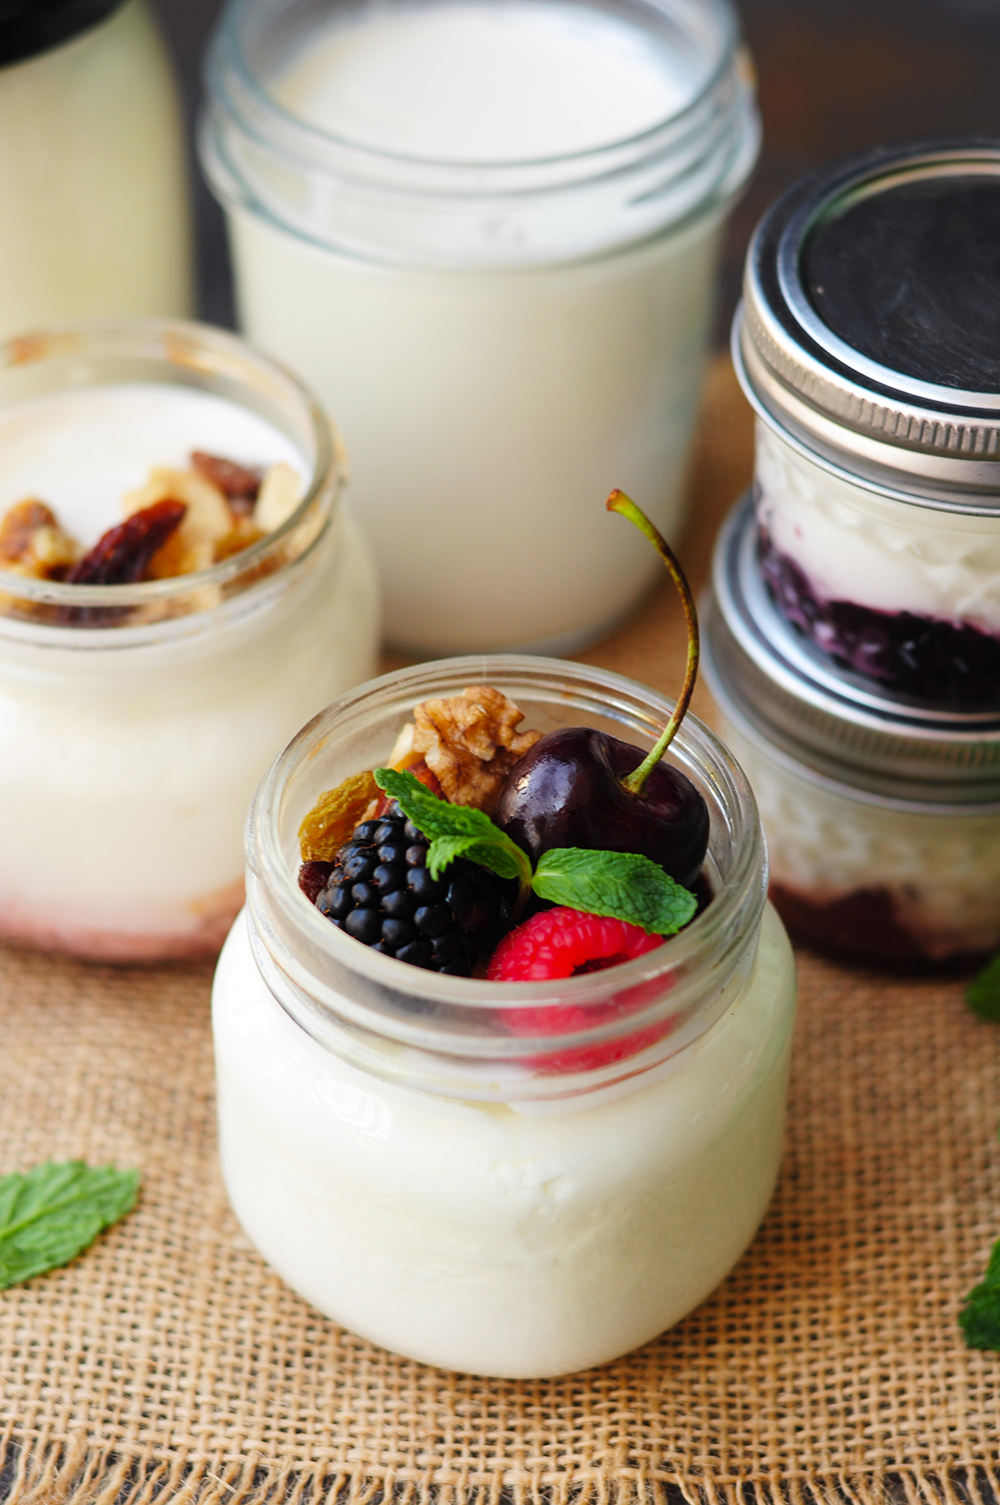
Transfer the yogurt from the water bath to the fridge and refrigerate it overnight to set. Enjoy it however you like. Make a yogurt bowl with granola and fruit, put it in your smoothie, make tzatziki sauce with it, or make frozen yogurt treats!
StreetSmart Tips for Making Delicious Sous Vide Yogurt
- Use a heavy-duty freezer bag or sous vide bag. The water temperature is going up to 180°F, and you are going to hold your milk at that temperature for 30 minutes. It’s safer to use a sous vide bag for the job due to the high temperature. Ziploc bags are also an option but make sure to double-bag the milk to prevent potential leakage.
- Screw on the lid fingertip tight. If you’ve made my sous vide cheesecake, you’ll remember to screw the lids on fingertip tight. This allows air to escape from the jars when they’re submerged in water. Normally, if the jars are closed too tightly, the trapped air will press against the glass and could crack or break the jars. Since the temperature for sous vide yogurt is much lower, you can just screw the lid on as you normally would. However, this is a good chance to practice. Here’s how to do it: Place the lid on top of the jar, use just your fingertips (not your palm) to twist the band to tighten, and stop as soon as you feel the resistance.
- Don’t panic if your sous vide bath water turns a little muddy. It could be that some of your jars were not closed properly. You can usually tell as soon as you put them in. Just quickly retighten the lid.
- Use quart jars; no bags are needed. You can use those really large jars for heating up the milk and incubating the yogurt without having to pour the milk back and forth during the process. In this case, note that you don’t want to transfer the jars into an ice-water bath right after heating at 180°F (82.2°C). Your jars will likely break due to the sudden temperature change. Let them cool at room temperature before moving on to the next step.
- Add varieties of flavors before incubating. The best time to add flavors or additives is during step 4 after the milk is cooled and mixed with live culture and before incubating in the sous vide. Avoid adding anything when the milk is heating. We’ll look at some flavor options below.
- Strain to level up the thickness. You can make your yogurt as thick as Greek yogurt or even thicker with one more step. Here’s how: strain yogurt through a cheesecloth, coffee filter, or another strainer, stirring gently occasionally. Allow straining for at least two hours and as long as overnight. Note that you’ll have about 50% of the volume.
Sous Vide Yogurt Varieties
We are making the most heavenly plain yogurt here, but if you prefer to add some sweeteners or other flavors to your sous vide yogurt, you absolutely can. Here are a few ideas.
Homemade Vanilla Yogurt
Simply add some vanilla extract to the milk mixture before pouring it into jars. You do not want to add the extract when heating the milk to 180°F (82.2°C). The high heat will cause the vanilla flavor to dissipate. The best time to add vanilla extract is after the milk has cooled down to 110°F (43°F).
If you’d like to add sugar or other sweeteners, this is the time to add them as well.
Fruit Jam Yogurt
You can choose a few different jams and spread them out the bottom of your jars, pour the milk with added active cultures on top, put the lid on, then incubate. There are a couple of reasons for adding flavors before incubating.
- You can certainly add jam to your yogurt right before eating. However, the yogurt will lose its consistency and become a bit runny if you stir it.
- The yogurt sits safely on top when putting the jam at the bottom of your jars. The jam doesn’t interfere with the texture or firmness after incubation. Plus, the sweetness and fruity flavor from the jam gets infused throughout the incubation process. It’s truly heavenly. This idea was shared by a long-term reader of this blog, Kathy, who lives in California. We have been bouncing cooking ideas back and forth and sharing our sous vide cooking experiment results via email for years. Thank you, Kathy!
- Bonus point: Make multiple flavors in one batch. Just need a few more jars.
As you can see from the photos and video, I made three jars of flavored yogurt with blueberry jam, apricot jam, and strawberry jam to show you the process.
Here you have it—six easy-to-follow steps for you to make homemade yogurt with the best texture that suits your taste the most. Follow the tips I have provided in this post and start your culinary journey of mastering sous vide yogurt today!
Give it a try and tell me in the comments below your magic numbers for time and temperature and what delicious creations you make.
Print
Sous Vide Yogurt Recipe
- Prep Time: 15 minutes
- Cook Time: 5-24 hours
- Total Time: 24 hours
- Yield: 8 cups of the most delicious yogurt 1x
- Category: Dessert
- Method: Sous Vide
- Cuisine: American
- Diet: Gluten Free
Description
Discover how to make perfect sous vide yogurt with easy-to-follow instructions and enjoy masterful results in just 6 simple steps.
Ingredients
- 1/2 gallon (1.89 liters) whole milk (or 2% fat milk if you prefer)
- 1/2 cup live-culture yogurt
Instructions
- Prepare milk: Preheat water to 180°F (82.2°C) using a sous vide immersion circulator. Prepare a large sous vide bag, and pour the milk into the bag. (If you opt for Ziploc bags, double-bag the milk.) Lower the milk into the water bath using the water displacement method until the milk is completely submerged under the water. Clip the top part of the bag on the side of your sous vide container or cooking vessel. You don’t need to wait until the water is ready to do this. Once the water reaches 180°F (82.2°C), set the timer for 30 minutes to hold the milk at that temperature.
- Cool the milk: Once the timer goes off, remove the milk from the sous vide bath and let it cool at room temperature to 110°F(43°C) or below. To cool it down faster, transfer the milk from the sous vide bath to an ice-water bath. You may pour the milk into a large container before setting it in the ice-water bath or after.
- Add the live culture: Once the milk temperature has gone back down to 110°F(43°C) or below, you are ready to add the bacteria for fermentation. In a medium bowl, add ½ cup yogurt with live culture, then scoop up some of the milk and add it into the bowl. Mix well until there are no yogurt lumps. Pour the smooth mixture back into the milk container and give it a gentle stir to let the live culture be evenly distributed.
- Pour into jars. Prepare a few Mason jars with good lids. The size of your jars doesn’t matter. Pour the milk into the jars, stopping about ½ inch from the top. Use your fingertips to screw on the lid until you feel the resistance.
- (Optional) Add flavors. To have some more varieties, you can add 1 or 2 tablespoons of your preferred jam with different flavors to the bottom of your jars before pouring the milk mixture in.
- Incubate. Set the temperature of the same sous vide bath between 110°F (43°C) to 115°F (46°C). I usually do 112°F (44°C). If your water temperature is still pretty high, you can add some ice water to it to drop the temperature quickly. Once the water is ready, slowly submerge the jars under the water. Set the timer for at least 5 hours, up to 24 hours.
- Chill the yogurt and enjoy. Remove the jars from the water bath and let the yogurt chill in the fridge overnight to set. Open up a jar and enjoy!
Nutrition
- Serving Size: 1 cup
- Calories: 167
- Sugar: 13.1g
- Sodium: 111.6mg
- Fat: 8.9g
- Saturated Fat: 5g
- Trans Fat: 0g
- Carbohydrates: 12.4g
- Fiber: 0g
- Protein: 9.3g
- Cholesterol: 26.8mg
About the Author

Sharon Chen is an Integrative Nutrition Health Coach and author of the Complete Sous Vide Cookbook. She believes food not only brings healing but also connection. As the creator of StreetSmart Kitchen, she aims to make meal prep easier than ever and help you find balance, ease, joy, and simplicity in the kitchen as you improve your well-being.
Hi! Thanks for the recipe! Does jars complete submerge for incubation? I mean…water goes over the top of them?
Yes, that’s correct. The jars are under the water, completely submerged. If you close the jars properly (fingertip tight), water won’t go inside the jar. 🙂
Tastes great added honey after mixing in fermentation packet. Next time I will let it go longer did 12 hours. I also will add some heavy cream maybe 1 cup for 1 cup for richness and vanilla
That’s excellent modifications, Vicky!
Could you the incubate step in a Sou vide bag as well? I’m thinking I could do that for easier transfer for straining to make a thicker Greek style yogurt.
Yes, you absolutely can! That’s the way to go for easy straining for sure!
I’m curious about how a nut milk yogurt would turn out. Has anyone ever used cashew milk or soy milk in this recipe?
With the differences in nut and soy milks from animal fat milks I would say you should really use a specific recipe. I saw one a few days ago while looking at recipes that not only includes how to make the yogurt but also homemade almond milk for said yogurt.
i’m not going to drop a link, but the recipe title is “Homemade Almond Milk Yogurt (Vegan)” by Lori Rasmussen
You need to get a EuroCuisine Strainer if you are making Greek Yogurt often. It is amazing. The cost is well worth it in the long run. Let it sit in the Strainer for 24 hours. Afterward, you have a great Yogurt Cake for guests or put it into a Quart container as a 1/2 Gallon of Yogurt out of the (115degree for 12-24hrs) warmer will yield a quart of delicious, creamy Yogurt. Onward…
I am intrigued! 😀
Thank you, Tom!
Thank you!
Good informative post!
Thank you for all the information on how to make the best sous vide yogurt. I am looking forward to trying this healthier yogurt.
Always wanted to make my own yogurt! Finally tried it with this recipe and it was so easy and SO delicious. Thank you!
I’ve never tried sous vide cooking or making yogurt! Definitely adding to my must try list and must have appliance!
Awesome!! I’ve heard Sous Vide for my steak, but never thought about doing that for my yogurt. What an incredible way to make it! Thank you for the recipe!
I really love homemade yogurt, but I’ve never tried this method. I’m excited to see how this turns out!
This recipe turned out amazing! I followed your instructions exactly and it was a huge hit with my family.
This sounds delicious and easy enough. How long can one store the yoghurt? How long can the extra yoghurt to use as activator for the next batch be kept ? Thank you !
Great questions! You can safely store the yogurt in the fridge for up to 7 days but I have kept it for around 10 days before and it’s fine for me.
You can use the homemade yogurt as a starter a few times. I’ve done three batches with it and the result is just as good. But some say that using it too many times will eventually affect the result. I am going to see how many times I can use the homemade stuff as the starter until I’m no longer happy with the result. I will let you know.
This sounds amazing and so much better than store bought! I have two questions before I try it out. We have our own goats and usually drink only raw goat milk. Do you know if this will work with the recipe? Second question is would putting fresh fruit like berries and bananas be okay rather than jam that has even more sugar in it? Thanks for for the recipe! I’m excited to try it out!
Hi Debbie, you can definitely use goat milk to make yogurt. Please note that the structure of goat milk is different from cow milk, so for culturing, it will result in a thinner finished yogurt. However, I encourage you to try making sous vide yogurt at different times (5-24 hours) and temperatures (110F-115F). I’d suggest you go a little higher on the temperature if you use goat milk. Regardless, You’ll be able to find the perfect combination for your preferred texture.
If you want to use fresh fruit, I would recommend use it as a topping when you are ready to enjoy the yogurt. If you sous vide fruit with yogurt, it might interfere the incubation process and I am not sure how the fruit will turn out. Jam is just an option for anyone who wants to add some sweeteners in the yogurt. The homemade plain yogurt is already very very good. If you really want to try putting fruit at the bottom of the jar, experiment it with one small jar and make the rest of the batch plain.
Hope this helps and good luck!! Please keep me posted on how it turns out for you. Cheers!